 Save
Save My friend texted me at 11 PM asking if I could bake a sheet cake for her sister's graduation party the next afternoon. I'd made countless cakes before, but something about the pressure of a deadline and the significance of the moment made me want to get this one absolutely right. Vanilla might seem simple, but that's where the magic lives—when butter and sugar cream together perfectly, when eggs incorporate into something almost cloud-like, when the cake emerges from the oven with that gentle golden dome. This recipe has saved me more than once, and now it's become the one I reach for whenever someone needs a celebration on a sheet pan.
I'll never forget pulling that cake out of the oven while my friend's mom stood in my kitchen, watching it cool. She kept saying it smelled like her grandmother's baking, and when I spread that buttercream across the top, she got a little teary. That's when I realized this cake wasn't just about feeding people—it was about marking time, celebrating milestones, and tasting something that says 'you matter.' Graduation parties can feel rushed and overwhelming, but a proper homemade cake has a way of slowing everything down.
Ingredients
- All-purpose flour (3 cups): This is your structure, so don't sift it before measuring or you'll end up with a dense cake that doesn't rise properly.
- Baking powder and baking soda (2½ tsp and ½ tsp): The difference between these two matters more than you'd think—baking powder gives steady lift while baking soda reacts with the buttermilk's acidity, creating that tender crumb.
- Unsalted butter (1 cup plus 1 cup): Room temperature is non-negotiable; cold butter won't cream properly and you'll end up with a grainy batter that bakes unevenly.
- Granulated sugar (2 cups): This aerates the butter as you beat them together, which is what gives vanilla cake that signature light texture.
- Eggs (4 large, room temperature): Cold eggs won't incorporate smoothly, so pull them from the fridge about 15 minutes before you start mixing.
- Vanilla extract (1 tbsp plus 2 tsp): Use real vanilla, not imitation—the flavor difference becomes obvious when vanilla is your main player.
- Whole milk (1½ cups plus ¼ cup, room temperature): The warmth helps everything emulsify together into a silky batter.
- Powdered sugar (4 cups, sifted): Lumpy powdered sugar will make your frosting grainy, so take the extra minute to sift it.
- Salt (½ tsp plus pinch): A small amount brings out the vanilla flavor instead of letting it fade into the background.
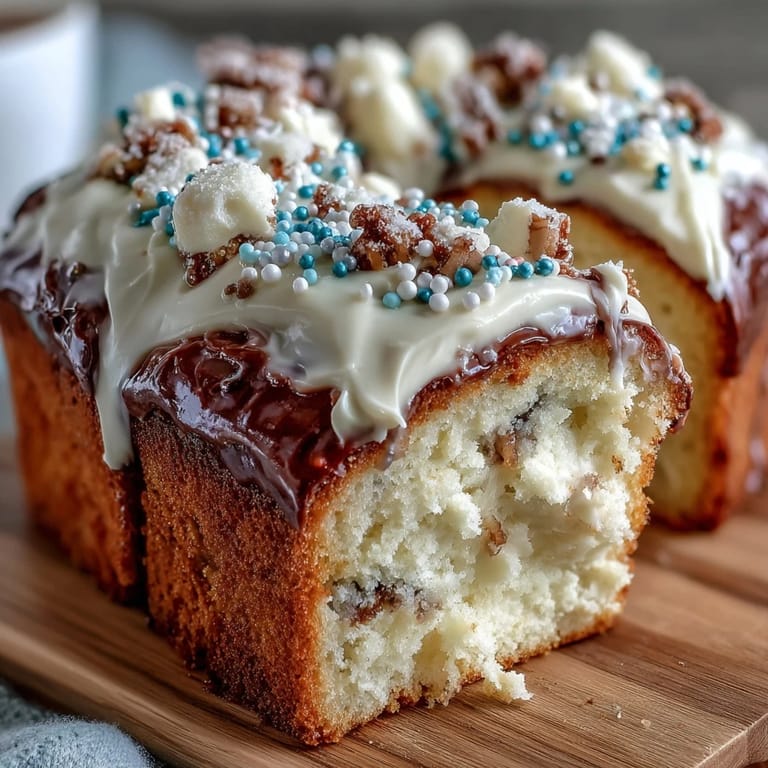
- Graduation-themed sprinkles or edible decorations: These transform a simple cake into a celebration, so choose colors that matter to the graduate.
Tired of Takeout? 🥡
Get 10 meals you can make faster than delivery arrives. Seriously.
One email. No spam. Unsubscribe anytime.
Instructions
- Set yourself up for success:
- Preheat your oven to 350°F and grease a 12x18-inch sheet pan with butter or cooking spray, then line it with parchment paper so the cake releases cleanly. This step takes two minutes but saves you from a frustrating cleanup later.
- Combine your dry ingredients:
- Whisk together flour, baking powder, baking soda, and salt in a medium bowl, then set it aside—this ensures the leavening agents are evenly distributed throughout the cake. I always do this first so I'm not scrambling when I'm in the middle of creaming butter and sugar.
- Cream the butter and sugar:
- Beat them together for about 3 minutes until the mixture is pale, fluffy, and noticeably lighter in color than when you started. You'll know it's ready when it looks almost like frosting—that's when enough air has been incorporated.
- Bring in the eggs one at a time:
- Add each egg individually, beating well after each addition so it fully incorporates before the next one joins the party. If you dump all the eggs in at once, your batter can look curdled and broken, which affects the final texture.
- Add the vanilla:
- Mix in the vanilla extract after all the eggs are incorporated, then give it a few extra beats to make sure it's evenly distributed throughout the batter.
- Alternate wet and dry ingredients with care:
- Add half the dry mixture, mix on low speed just until combined, then pour in half the milk and mix gently. Repeat with the remaining dry ingredients and milk, stopping as soon as everything comes together—overmixing at this stage develops gluten and toughens the cake.
- Pour and spread:
- Transfer the batter to your prepared pan and use a spatula to spread it into an even layer, paying attention to the corners. The batter should level out naturally as it bakes, but starting evenly helps it bake uniformly.
- Bake with patience:
- Bake for 28-32 minutes until a toothpick inserted in the center comes out clean with just a few moist crumbs clinging to it. Oven temperatures vary, so start checking at 26 minutes.
- Cool completely before frosting:
- Let the cake cool in the pan for about 15 minutes, then turn it out onto a wire rack to cool completely—at least an hour. Frosting a warm cake causes the buttercream to melt into slicks of oil, so patience here really pays off.
- Make the buttercream:
- Beat softened butter for 2 minutes until it's creamy and pale, then gradually add sifted powdered sugar, mixing on low to avoid a powdered sugar explosion. Once it comes together, add vanilla, milk, and salt, then beat on high for 2-3 minutes until it's fluffy and spreadable.
- Frost and decorate:
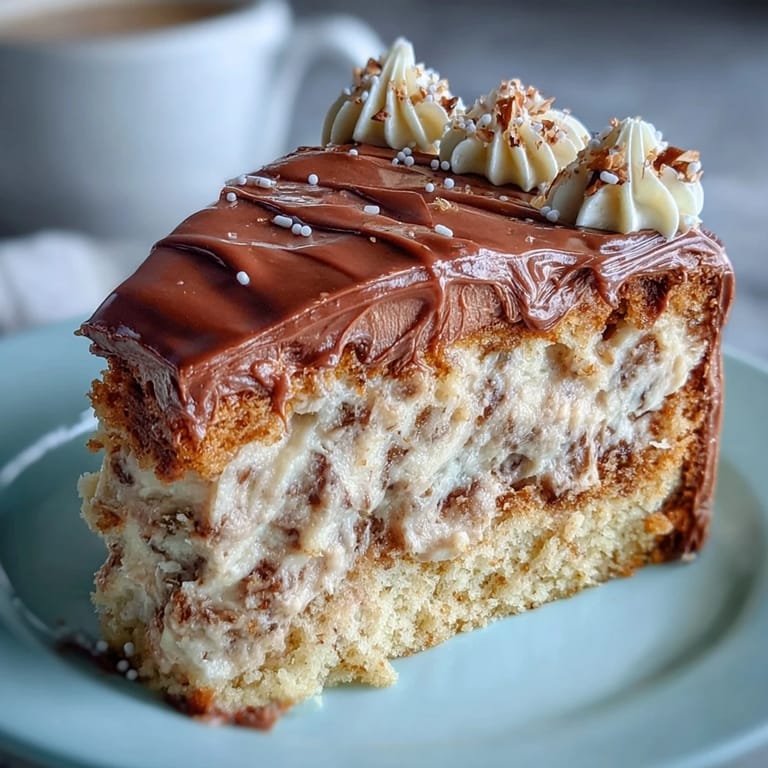
- Spread the buttercream evenly over the cooled cake using a spatula, working in smooth strokes, then add your graduation-themed sprinkles or edible decorations while the frosting is still soft enough to hold them. Step back and look at it—you made this.
 Save
Save Three hours after I delivered that cake, my friend sent me a photo of her sister cutting into it, surrounded by friends laughing and celebrating. The cake had fed everyone, held up through the party, and apparently tasted just as good at the end of the night as it did when it was first frosted. That's when I realized vanilla sheet cakes aren't really about the vanilla at all—they're about showing up for people in a way that's generous and unassuming.
Why Sheet Cakes Win for Celebrations
A sheet cake is honest food. It doesn't pretend to be fancier than it is, it doesn't require architectural skills to assemble, and it manages to taste elegant without demanding hours of your time. When you're planning a graduation party or any kind of gathering, a beautiful sheet cake from your own oven carries more weight than people realize. I've seen guests choose a slice of homemade cake over store-bought options every single time, not because it's objectively better, but because they can taste the care in it.
The Science Behind the Tender Crumb
The reason this cake turns out so tender is because of how the ingredients work together in sequence. When you cream butter and sugar first, you're not just mixing them—you're creating tiny air pockets that expand in the oven's heat. The eggs emulsify everything into a stable batter that can hold all those bubbles. The milk, added in alternation with the dry ingredients, keeps the batter from becoming dense while preventing it from becoming too wet. It's the kind of thing you don't think about when you're just following steps, but understanding why each ingredient matters makes you a better baker.
Frosting, Decorating, and Last-Minute Saves
Buttercream frosting is remarkably forgiving once you understand its basic nature. If it seems too soft, chill it for 10 minutes. If it's too stiff, add a splash more milk and beat it again. The decorating part is where you get to have fun—gel food coloring mixes in smoothly without making the frosting watery, and sprinkles stick better to soft frosting than to completely set ones. I've saved several cakes that looked like disasters 30 minutes before serving by adding more sprinkles to hide uneven frosting, piping a border of extra buttercream to create interest, or even adding fresh flowers to the top for a graduated, polished look.
- If your buttercream looks grainy, it usually means the powdered sugar wasn't sifted—sift it again and rebeat the frosting, and it should come back together.
- Decorating tools like piping bags and tips transform a simple frosted cake into something that looks professionally done, so don't skip them if you want to add piped borders or personalized messages.
- A cake server or long serrated knife dipped in hot water between cuts gives you clean slices that look beautiful on the plate.
 Save
Save This cake has shown up to graduations, celebrations, and quiet moments when someone just needed something sweet and homemade. It's the kind of recipe that becomes part of your kitchen repertoire because it works, tastes wonderful, and makes people feel special. Bake it with confidence.
Recipe Help
- → What is the best way to achieve a fluffy vanilla cake?
Ensure butter and sugar are well creamed until light and fluffy, and add eggs one at a time for even incorporation. Fold dry and wet ingredients gently to maintain airiness.
- → Can I add different flavors to the cake batter?
Yes, adding ½ tsp almond extract enhances the flavor without overpowering the vanilla base.
- → How do I make the buttercream smooth and creamy?
Beat butter on its own until creamy, then gradually add powdered sugar and other ingredients, finishing with a high-speed whip for a fluffy texture.
- → Is a gluten-free version possible for this cake?
Yes, substitute the all-purpose flour with a 1:1 gluten-free baking blend for a similar texture.
- → What tools are recommended for best results?
Use a 12x18-inch sheet pan, electric mixer, mixing bowls, whisk, spatula, parchment paper, and wire rack for proper baking and cooling.