 Save
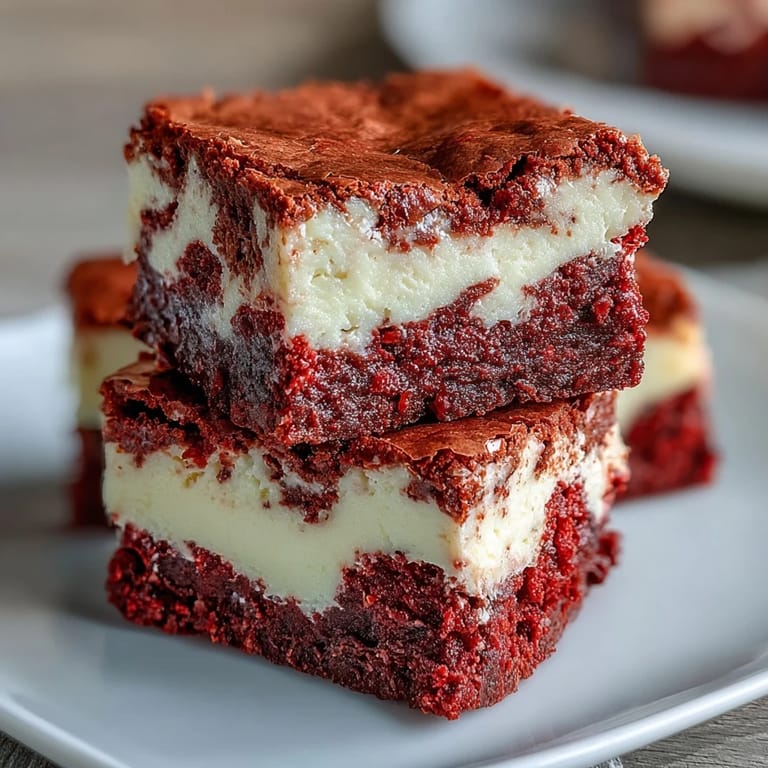
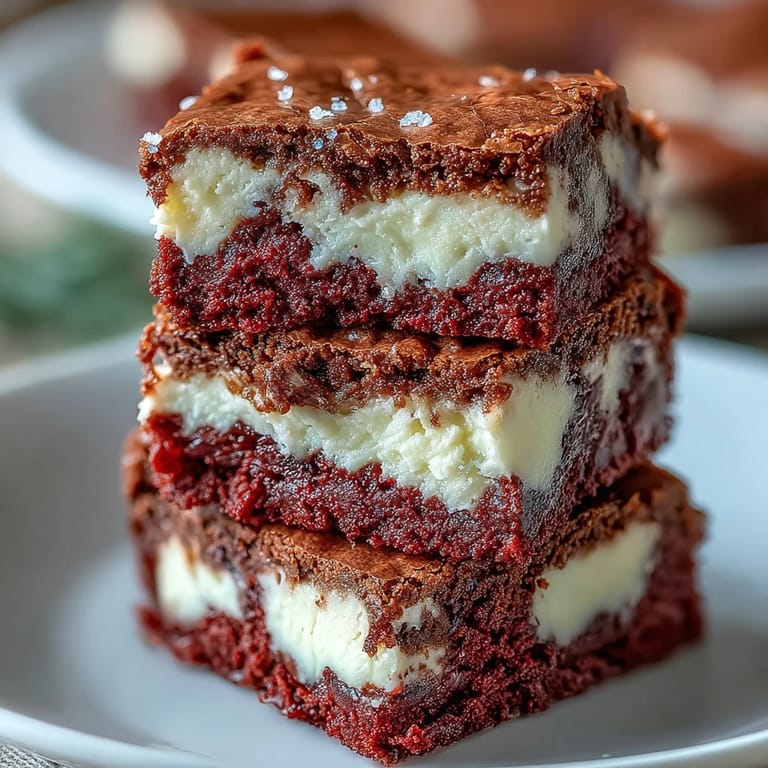
Save My neighbor showed up at a potluck with a pan of these, and I spent the entire evening trying to figure out if they were brownies or cheesecake. The swirls of deep red and ivory looked almost too pretty to eat, but one bite settled it: they were both, and they were incredible. I begged for the recipe on the spot, and she laughed and said it was easier than it looked. That weekend, I made my first batch, and the kitchen smelled like a bakery mixed with a chocolate shop.
I brought these to a holiday dinner once, and my cousin asked if I ordered them from a fancy dessert shop. When I said I made them at home, she didnt believe me until I walked her through the steps. The best part was watching people try to guess the flavors, debating whether it was chocolate or red velvet or something else entirely. They disappeared faster than anything else on the table, and I went home with requests for the recipe from at least four different people.
Ingredients
- Unsalted butter: Melted butter keeps the brownie layer fudgy and moist, and using unsalted lets you control the saltiness perfectly.
- Granulated sugar: This sweetens both layers and helps create that shiny, crackly top on the brownie base.
- Eggs: Room temperature eggs blend smoothly into both batters without creating lumps or streaks.
- Vanilla extract: A little vanilla in each layer deepens the flavor and makes the whole dessert smell amazing.
- Red food coloring: Gel color gives you that vibrant red velvet hue without thinning out the batter too much.
- All-purpose flour: Just enough to give structure without making the brownies cakey or dry.
- Unsweetened cocoa powder: This adds a hint of chocolate flavor that makes red velvet taste like red velvet, not just colored cake.
- Cream cheese: Softened cream cheese blends into a silky cheesecake layer that contrasts beautifully with the dense brownie base.
Tired of Takeout? 🥡
Get 10 meals you can make faster than delivery arrives. Seriously.
One email. No spam. Unsubscribe anytime.
Instructions
- Prep the pan:
- Preheat your oven to 175°C (350°F) and line an 8x8-inch pan with parchment, leaving extra hanging over the sides. This makes lifting the brownies out later so much easier.
- Mix the brownie batter:
- Whisk melted butter and sugar until smooth, then add eggs, vanilla, and red food coloring until the mixture turns a deep, even red. Sift in flour, cocoa, and salt, folding gently until just combined without overworking the batter.
- Layer the brownie base:
- Reserve 1/4 cup of the red velvet batter in a small bowl, then spread the rest evenly in your prepared pan. This reserved batter will create those gorgeous swirls on top.
- Make the cheesecake layer:
- Beat softened cream cheese until smooth and creamy, then add sugar, egg, and vanilla, mixing until lump-free. Pour this over the brownie layer and spread it out gently with a spatula.
- Swirl and bake:
- Dollop spoonfuls of the reserved red velvet batter over the cheesecake, then drag a knife or skewer through to create swirls. Bake for 35 minutes until the center is just set but still has a slight jiggle.
- Cool and chill:
- Let the brownies cool completely in the pan on a wire rack, then refrigerate for at least 2 hours. This chilling step makes them slice cleanly into perfect squares.
 Save
Save  Save
Save One Valentines Day, I made a double batch of these and packed them in little boxes tied with ribbon. My friends texted me photos of their first bites, and one said it felt like getting a hug in dessert form. That year, these brownies became my go-to gift for anyone who needed a pick-me-up or a reason to smile. Theres something about the combination of flavors and colors that just feels celebratory, even on an ordinary day.
Getting the Swirls Just Right
The first time I tried swirling, I went overboard and turned the whole thing into a muddy mess. Now I know that less is more: just a few gentle drags with a knife create those beautiful marbled patterns. If you swirl too much, the layers blend together and you lose that striking contrast. Three or four passes through the batter is all you need to get that bakery-perfect look.
Storage and Serving Tips
These brownies keep beautifully in the fridge for up to five days, stored in an airtight container between layers of parchment paper. I actually think they taste even better on day two, after the flavors have had time to meld together. Serve them cold straight from the fridge for a firm, cheesecake-like texture, or let them sit at room temperature for 10 minutes if you prefer a softer, fudgier bite.
Ways to Make Them Your Own
Once you master the basic recipe, its easy to customize. I sometimes fold white chocolate chips into the brownie batter for extra sweetness, or add a handful of chopped pecans for crunch. A friend of mine swirls in a little raspberry jam along with the red velvet batter, and it adds a fruity tang that pairs perfectly with the cream cheese.
- Try sprinkling mini chocolate chips over the cheesecake layer before adding the red velvet swirls.
- Add a teaspoon of espresso powder to the brownie batter to deepen the chocolate flavor.
- Dust the tops with powdered sugar just before serving for an extra touch of elegance.
 Save
Save 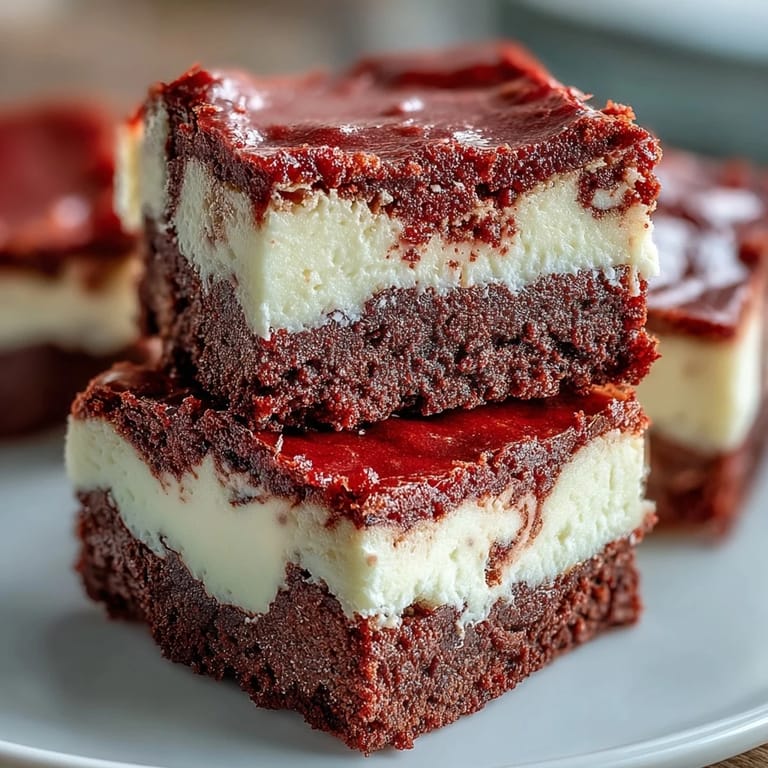 Save
Save These brownies have become my secret weapon for potlucks, bake sales, and any time I want to look like I spent hours in the kitchen. They never fail to impress, and I love watching peoples faces light up when they take that first bite.
Recipe Help
- → Can I use natural food coloring instead of red dye?
Yes, you can use natural alternatives like beet powder or natural red food coloring, though the color may be less vibrant. Start with 2-3 tablespoons of beet powder and adjust to achieve your desired hue.
- → Why do my brownies need to be refrigerated before cutting?
Chilling for at least 2 hours allows the cheesecake layer to fully set and the brownies to firm up, making them much easier to cut into clean, neat squares without the layers falling apart.
- → Can I make these in a different pan size?
Yes, but adjust the baking time accordingly. A 9x13-inch pan will yield thinner brownies that bake in 25-30 minutes, while a smaller pan will need extra time and produce thicker bars.
- → How do I know when the brownies are done?
The center should be just set with a slight jiggle, and a toothpick inserted should come out with a few moist crumbs. Avoid overbaking to maintain that fudgy texture.
- → Can I freeze these brownies?
Absolutely! Wrap individual squares tightly in plastic wrap, then place in a freezer-safe container. They'll keep for up to 3 months. Thaw in the refrigerator overnight before serving.
- → What's the best way to create the swirl pattern?
Use a butter knife or wooden skewer and drag it through the batter in a figure-8 or zigzag motion. Don't over-swirl—a few gentle passes create the most attractive marbled effect.